This QuickStart QS provides all the common Markup to be used in new QS.
Sample code and examples are shown for each item.
We encourage you to review the QS called Getting Started Working with Tables
For more information on Sigma's product release strategy, see Sigma product releases.
Target Audience
Anyone who is trying to create QS content for Sigma.
Prerequisites
1: A computer with a current browser. It does not matter which browser you want to use.
2: Review of the Sigma QS Readme.
3: Completion of the Sigma QS Readme perquisites.
4: A working local copy of the Sigma QS portal as described in the Readme.
What You'll Learn
How to apply Sigma approved Markdown for your QS.
What You'll Build
A good example of the Sigma style that we want to try to adhere to is here

There are 3 types of QS Sections:
1: #. There is only one for each QS. It's text defines the name to be displayed to the user in the QS Portal.
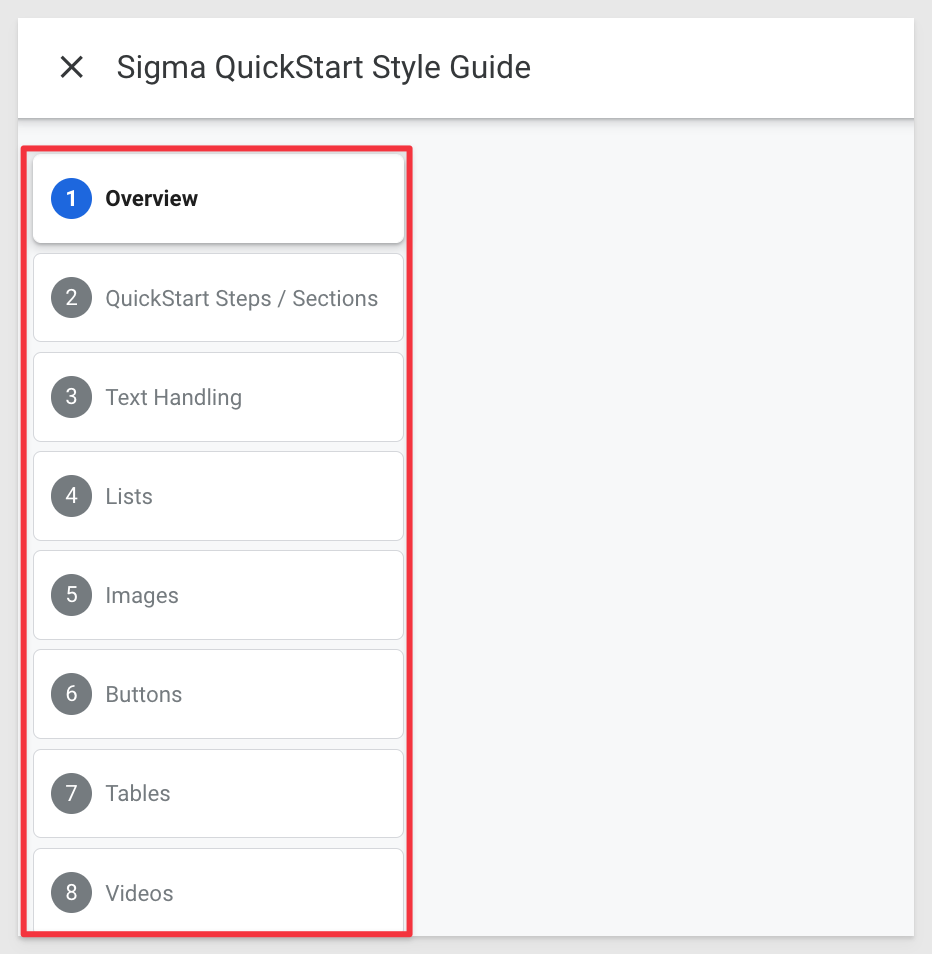
2: ##. This defines a main section and is used to drive the QS Steps as shown:
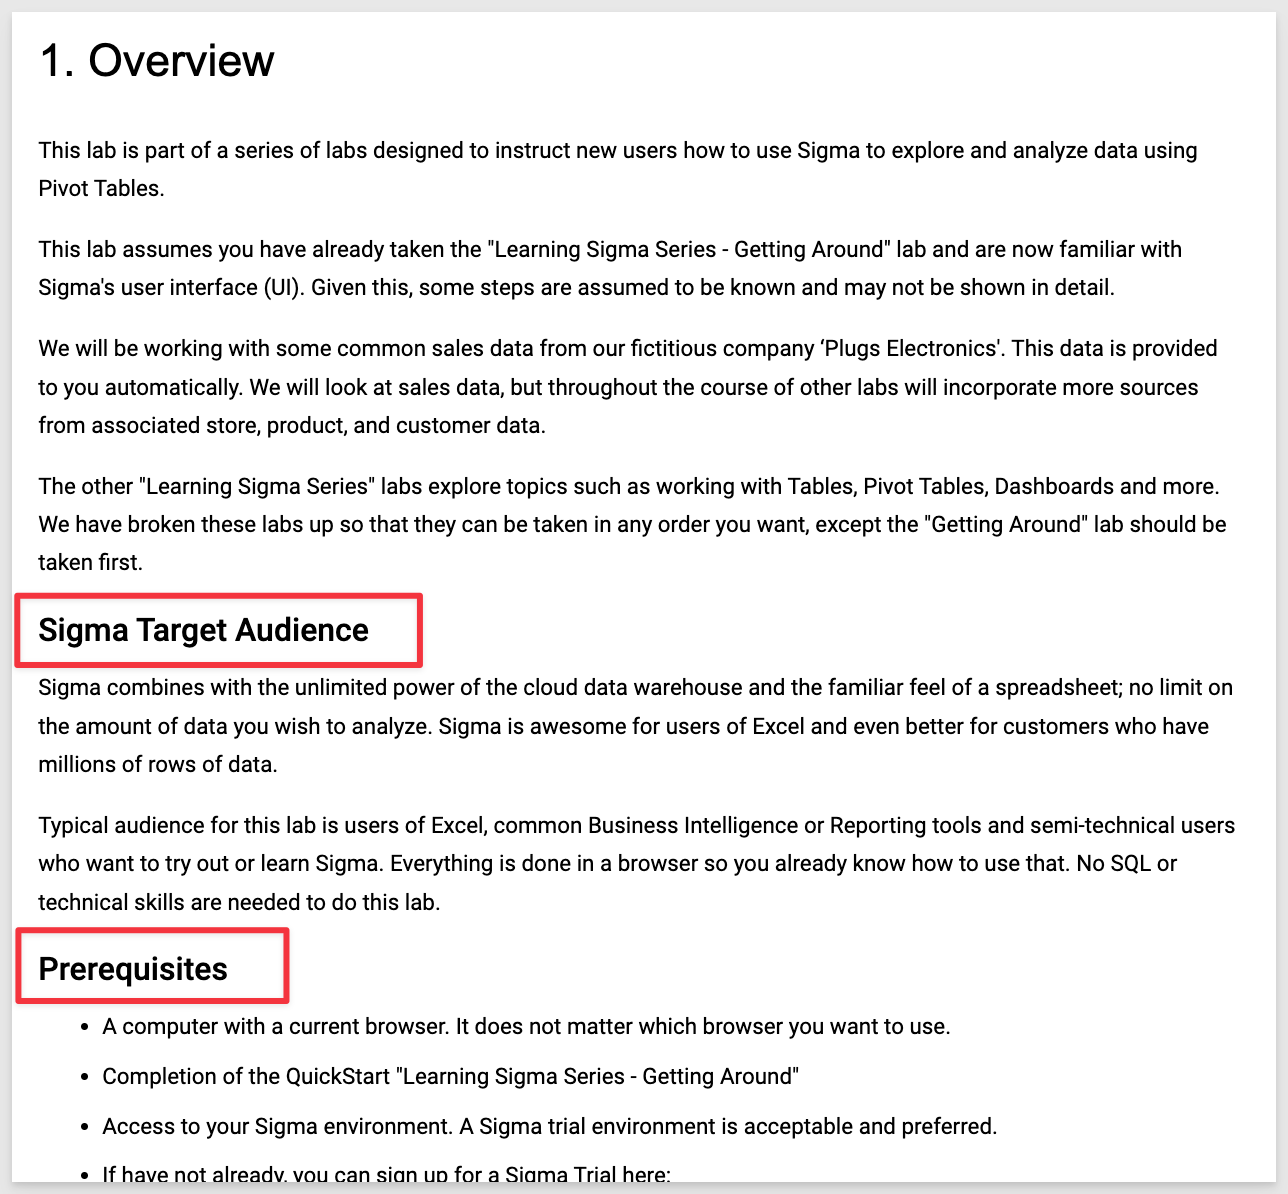
3: ###. One or more of these can exist in a ## section and will appear as a subsection on a Step:

All Sections must end with the Sigma Footer. You can do this by placing this code at the end of your section:

<!-- END -->

Additional Resource Links
Your "What we've covered" Section should use the same content for "Additional Resource Links". You can do this by placing this code at the end of your section:
[Help Center Home](https://help.sigmacomputing.com/hc/en-us)<br>
[Sigma Community](https://community.sigmacomputing.com/)<br>
[Sigma Blog](https://www.sigmacomputing.com/blog/)<br>
<br>
[<img src="./assets/twitter.png" width="75"/>](https://twitter.com/sigmacomputing) 
[<img src="./assets/linkedin.png" width="75"/>](https://www.linkedin.com/company/sigmacomputing) 
[<img src="./assets/facebook.png" width="75"/>](https://www.facebook.com/sigmacomputing)

Bold text is created by formatting the text as **some bold text**.
Italic text is created by formatting the text as ***some italic text***.
Boxed Text is created by surrounding the desired text with the ` apostrophe character.
  ...will provide a single space between to items (useful for side by side images)

To create a CODEBOX, you can use this formatting:
MAKE SURE YOU USE THE `(apostrophe) CHARACTER (AS OPPOSED TO WHAT IS SHOWN IN THE SAMPLE CODE):
This is an example of a Codebox, good for showing code samples inline.
Markdown for a CODEBOX:
'''console
Your text here...
'''

To high-lite something Important, you can use this formatting:
Markdown for IMPORTANT:
<aside class="positive">
<strong>IMPORTANT:</strong><br> Your text here.
</aside>

To high-lite a Note, you can use this formatting:
Markdown for NOTE:
<aside class="negative">
<strong>NOTE:</strong><br> Your text here.
</aside>


ORDERED LIST:
My Content: Some text...
- Workbook: text...
- Dataset: text...
- Custom SQL: text...
Markdown for a ORDERED LIST:
 <li><strong>My Content:</strong> Some text...
    <ol type="n">
      <li><strong>Workbook:</strong> text...</li>
      <li><strong>Dataset:</strong> text...</li>
      <li><strong>Custom SQL:</strong> text...</li>
    </ol>
  </li>

UNORDERED LIST:
- Bar charts: Some text...
- Line charts: Some text...
- Area charts" Some text...
Markdown for a UNORDERED LIST:
 <ul>
      <li><strong>Bar charts:</strong> Some text...</li>
      <li><strong>Line charts:</strong> Some text...</li>
      <li><strong>Area charts"</strong> Some text...<li>
</ul>
Empty Version for quick copy*
 <ul>
      <li><strong></strong> </li>
      <li><strong></strong> </li>
      <li><strong></strong> </li>
</ul>

NESTED LIST:
- Sample
- Sample 2:
- Viewer
- Viewer+
- Explorer
Markdown for a NESTED LIST:
 <ul>
  <li></li>
    <li>Sample </li>
    <li>Sample 2:
        <ul>
        <li>Viewer</li>
        <li>Viewer+</li>
        <li>Explorer</li>
        </ul>
    </li>
</ul>

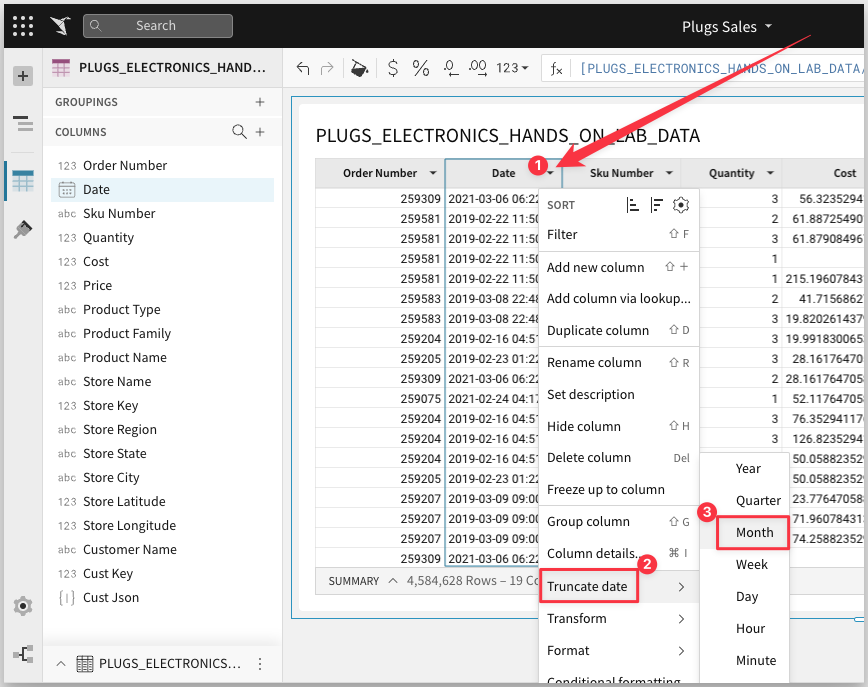
When using images on pages you should use red bounding boxes, red arrows to direct the users attention. When items should be done in steps, use numbers to direct the user to the right workflow. Here is an example:


Images should be screenshot on the highest display you have available, in full screen mode and with a quality screenshot software. We do not want blurry images as shown below:


Markdown for a Images (2 types):
When you want the image full size on the page:

When you want to control the size of the image better on the page:
<img src="assets/WelcomeHomePage.png" width="400"/>

Buttons are created as shown:.
<button>[Free Trial](https://www.sigmacomputing.com/free-trial/)</button>

Basic hyperlink created as shown:
Link text Here
Markdown for basic hyperlink:
[Link text Here](https://link-url-here.org)

Markdown for hyperlink with image:
[<img src="./assets/sigma_footer.png" width="75"/>](https://twitter.com/sigmacomputing)

Tables are created as shown:.
**The table header** | |
The table body | with two columns |
Markdown for Table:
<table>
    <thead>
        <tr>
            <th colspan="2"> **The table header** </th>
        </tr>
    </thead>
    <tbody>
        <tr>
            <td>The table body</td>
            <td>with two columns</td>
        </tr>
    </tbody>
</table>
Gifs are supported as:

Markdown for GIF:
<img src="assets/sample.gif">

Videos from YouTube can be directly embedded using only the video ID:
Markdown for Video:
<video id="E9G2a4QkLYE"></video>


The desired look and feel for a Sigma QuickStart and the Markdown options at your disposal.
Markdown for QuickStart Series link:
[Click here to move to the next QuickStart in this series.](https://quickstarts.sigmacomputing.com/guide/**{your QuickStart guide name here}**/index.html)
Additional Resource Links
Help Center Home
Sigma Community
Sigma Blog


